
A guide from the ImgUnmark team, based on our product’s workflows and limits.
An old shop logo on a product photo. A camera date across a travel picture. A PREVIEW stamp on a finished poster whose source file is missing.
These are different watermark removal problems—and they do not always need the same editing workflow.
ImgUnmark offers manual selected-area repair for ordinary images, automatic workflows for supported Gemini and Getty marks, and separate tools for animated GIFs and document screenshots. This guide explains which approach fits each situation.
Start with an image you own or have permission to edit. If a clean original is available, use it. Watermark removal reconstructs covered areas; it cannot recover the exact original pixels hidden beneath an opaque mark.
1. Update old branding on product photos
Your store has a new name, but your saved product photos still carry the old logo. You want to reuse the pictures without cropping away part of the product.
Use the ImgUnmark Logo Remover to brush over the old branding, including its background panel or shadow. Run the repair, then compare the result with the original.
Check product edges, patterns and surface details before updating a listing. A repaired area should not misrepresent the item you are selling.
2. Remove your old photography signature
A photographer changes their studio name, but an earlier portrait still displays the previous signature.
The Logo Remover can repair that visible lettering while keeping the full composition. Select the complete signature and its pale edges, keeping nearby faces and clothing details outside the selection where possible.
Before adding the image to your portfolio, inspect the reconstructed fabric, skin or background at a useful viewing size.
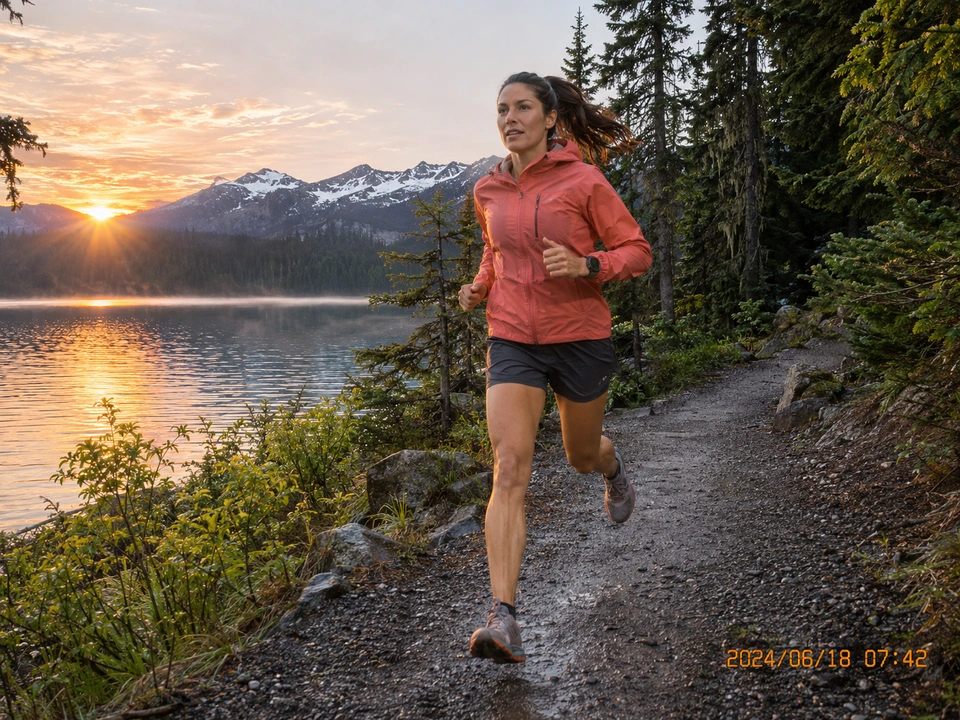
4. Remove a camera date without cropping the photo
A camera timestamp can sit across gravel, grass or the corner of a landscape. Cropping it away may also remove scenery you wanted to keep.
Use the general editor to select the date, including its outline or shadow. Watermark removal can reconstruct that selected area without cutting away the edge of the picture.
Inspect straight lines and repeating textures afterward. Rebuilding a timestamp over a plain background presents a different challenge from rebuilding one over detailed architecture.
5. Clean up stickers and captions on your own photos
You added a sticker, date and caption to a holiday photo, then saved only the flattened version.
Use manual image repair to select the unwanted overlays. For marks in separate locations, work in focused regions and compare each result before continuing. Each additional repair uses another credit.
Keep important people and objects outside the selection where possible. Once a sticker has covered part of an image, the original hidden detail is no longer available from that file.
6. Refresh authorized property photos
An authorized property photograph may still contain an old agency logo or branding panel.
The Logo Remover lets you select that overlay and review the reconstructed background while retaining the photograph’s framing.
Check floorboards, furniture edges and room features carefully. The purpose is to update branding; the resulting image should continue to represent the property accurately.
7. Remove a PREVIEW stamp from a finished poster or menu
You have permission to use the finished artwork, but the only remaining JPG or PNG includes your own PREVIEW label.
Upload it to the general editor and select the stamp, including its backing or shadow. Keep the event title, menu prices, venue and other intended text outside the selection.
If the stamp overlaps important wording, compare it character by character after repair. A visually cleaner image does not establish that reconstructed text is correct.
8. Clear an added label from AI artwork
An AI illustration may contain a visible label you added during review, such as AI STUDIO or PREVIEW.
For an ordinary illustration, use the general image editor. If it is a ChatGPT-generated image with an added visible overlay, the ChatGPT image watermark remover provides a dedicated entry point.
Brush over only the unwanted label. Keep intentional lettering and illustration details unselected.
These workflows edit visible pixels. They do not remove SynthID, C2PA credentials or other provenance signals, and an added label does not establish which service created an image.
9. Remove a visible Gemini sparkle without brushing
For a visible Gemini sparkle in the bottom-right corner, use the Gemini Watermark Remover.
This workflow targets the corner mark automatically, so you do not need to paint a selection or crop the image. Confirm that the image contains the intended corner sparkle, then compare the repaired result.
If earlier cropping has moved the mark elsewhere, use the general editor and select it manually. The automatic Gemini workflow is limited to the bottom-right search area.
10. Remove a fixed watermark from an animated GIF
Your own short GIF has an old logo in the same position throughout the animation. Editing only a still frame would leave the remaining frames unchanged.
Use the GIF Watermark Remover. Select the fixed watermark region once; the tool applies that selection across the frames and provides an animated GIF download.
Supported GIFs are limited to 10 MB, 60 frames and 15 seconds per loop, with an editing edge of up to 640 pixels. This workflow does not track a watermark that moves between frames. Preview the animation before saving.
11. Remove DRAFT or INTERNAL COPY from a document screenshot
A PDF page screenshot, Word page capture or scanned handout may have a pale watermark crossing several lines of text.
Use the Document Image Watermark Remover. It processes the complete uploaded image automatically, without requiring you to brush over each letter of the watermark.
The result downloads as PNG. It does not directly edit a PDF or DOCX file, create editable text or preserve spreadsheet formulas.
Review every important number, unit and table label before using the result. Whole-page reconstruction can change content as well as the visible overlay.
12. Choose the appropriate workflow for authorized stock-image edits
For a supported Getty-style credit block and associated image number, the Getty Images Watermark Remover can detect the supported pattern before repair. If it is not recognized, manual selection is available.
The Alamy Watermark Remover uses a different workflow: you manually select the lettering or grid region to repair. It does not automatically clear a repeated pattern across the entire photograph.
Neither workflow provides a stock-image license or retrieves a licensed original. Use the official clean download for final stock-image use whenever it is available.
How to choose your watermark removal workflow
Use manual selection for ordinary photos containing dates, usernames, stickers, signatures or old logos.
Choose the Gemini automatic workflow for a visible bottom-right sparkle, or the Getty workflow for supported credit-block patterns.
Use the dedicated GIF tool when you need an animated output, and the document image tool for automatic processing of text-heavy screenshots.
For static images, ImgUnmark accepts JPG, PNG and WebP files up to 10 MB. Images above a 2048-pixel long edge are resized for editing, and the result downloads as PNG. Manual selections can cover up to 35% of the editing image; smaller selections can help keep the repair focused.
Can you try ImgUnmark for free?
Your first Google sign-in includes 1 free credit. Each repair uses 1 credit; comparing and downloading an existing result do not use additional credits.
Further repairs require credits. ImgUnmark uses one-time credit packs rather than a recurring subscription. See the pricing page for pack details.
Start with the image you want to reuse
Choose the workflow that matches your file and watermark, make a focused repair, and compare the result before using it.
For an old username, date, preview stamp or other visible overlay on a still image, open the ImgUnmark image watermark remover to get started.
3. Clear an old social media username
You renamed your food, travel or lifestyle account. Your own saved photos still show the old @username, and you no longer have an unmarked export.
Open the general image watermark remover, upload the photo and brush over the old account name. Compare the repaired area before downloading.
Pay particular attention to recognizable textures beneath the lettering, such as food, paving or patterned surfaces.